Kia ora koutou
....Yup, the big 'C' and New Year are just around the corner. Just the thought of Christmas makes me cringe a little, even a bit depressed. Though the festive season causes me much anxiety over my little whanau's financial wellbeing, I DO LOVE the whanau (family) get-together's, the amazing feasts, the summer days, holidays, happy times and high hopes for the new year :) ....Celebrating Christmas and New Year will be different this time, we have heavy hearts for our loved ones that have passed, missing you heaps - Dad <3 Nana T <3
I've got heaps to show and tell :) Here goes....
Sunday Group
Once a month on a Sunday, a group of us ladies get together and learn a new scrapbook layout, presented by one of the group. It was my turn to design and teach a layout.
Cherish

Wedding Guests Thank you Card

Card - Whisper White, Strawberry Slush.
Stamp - Vintage Garden.
Ink - Black Versafine, Strawberry Slush, Tangerine Tango, Daffodil Delight, Gumball Green, Pistachio Pudding.
Accessories - Aqua Pen, Lacey Border Punch.
Monday Card Class
Every week there has been inspiration for each card class. Inkstegator group members (moi), were challenged to design a Stampin' Up! wedding card - then I thought yes! and I can alter the card to suit my Monday card class...and I was lucky enough to receive so many beautiful wedding cards from our recent wedding - what fantastic inspiration. Then the following week my friend Maria asked if I could make a graduation card - I was like yes! I have made this card before including a link to the tutorial in the post An Occasion In October. Now is the time to send out Christmas cards to loved ones, naturally, that was the theme for the latest card class. So yes, we have been busy having a lot of fun, hopefully - sparked inspiration getting the creative juices flowing!
Wedding Cards


I have written a tutorial for this delightful tunnel flip card - inspired by a wedding card Zoe made for my wedding. (Tutorial at the end of this post)
Graduation Card and Upright Diamond Fold Christmas Card


How's this for a modern Christmas card with a twist, looks complicated but surprisingly easy. I found the Upright Diamond Fold Card on Split Coast Stampers - click here for the tutorial by Laura Lipe and there is a you tube video tutorial on her page.
Christmas Cards

It's like a present, and then....

Surprise - a Christmas tree :)


3D Bauble card, if you like bling like me - how can you not like baubles?....so pretty :) The frame on this card was inspired by a card made by Linda.
I am currently working on next Monday class cards. Inspired by my employer's baby boy who just turned one and I am also working on his birthday gift a mini album, I think I have successfully altered and improved the original design. And Bronson's Kindergarten teacher has asked me if I had a birthday card with flowers on it, I asked how old will she be and was told 92 years, wow! The cards for class will be junior birthday and senior birthday. Will put up pictures on the next blog...
Stampin' Up!
My apologies for not keeping you up-to-date on Stampin' Up! stuff. Get ready, there's a lot to fill up on :)
CHRISTMAS CARRY-OVER
Were you looking for more Christmas stamps - well, you're in luck...Stampin' Up! have carried-over some Christmas stamps, the mini merry punches and ornament framelit dies from the last annual catalogue.
Check it out :) Christmas Carry-over
If you would like to place an order please contact me: kerianneh@gmail.com or 027 936 2603
SINGLE STAMPS Assortment 2
Limited time offer is available through 31 JANUARY 2014.
1 $15.95 AUD/$18.95 NZD 134767 Be Merry Block E
2 $11.95 AUD/$14.95 NZD 134771 Joy and Love Block E
3 $11.95 AUD/$14.95 NZD 134811 Prince of Peace Block E
4 $8.95 AUD/$9.95 NZD 134765 A Gift for You Block C
5 $9.95 AUD/$12.50 NZD 134769 Cheers Block D
6 $16.95 AUD/$20.95 NZD 134813 Christmas Star Block F
7 $9.95 AUD/$12.50 NZD 134777 Magical Season Block D
8 $15.95 AUD/$18.95 NZD 134779 Wonderful Blessing Block E
Get one or all of these never-before-seen stamps! To see the stamp images: Single Stamps
If you would like to place an order please contact me: kerianneh@gmail.com or 027 936 2603
As part of our 25-year anniversary celebration, Stampin' Up! is bringing back some of their favourite stamp images from the last quarter century and combining them into 11 sets, which will release—one set per month—until April 2014. Even better, along with some great classic images, each "Best of" set will also include a never-before-seen image!
If you would like to place an order please contact me: kerianneh@gmail.com or 027 936 2603
ENVELOPE PUNCH BOARD

- It’s super easy to use; it will go over as a huge wow when you demonstrate it at your events and your customers see it in action. It looks intimidating at first glance, but when they see that all you have to do is measure for the first punch and from there you just turn and score they’ll go crazy (in a good way).
- It’s small and lightweight; this makes it easy for you to use it while watching a football match, at a park, at a friend’s for craft night—anywhere.
- It even has a clever scoring tool as well as a punch that lets you create rounded corners on your envelopes.
- It’s easy to keep it all together; the stylus storage compartment and two punches are designed into the tool so you don’t have a bunch of little pieces to keep track of (even the instructions are printed right on the tool so you won’t lose them!).
- The price is terrific--especially for a tool that does so much!
- It will be in next year’s annual catalogue, so it’s here to stay
133774 Envelope Punch Board $38.95
THINLITS CARD DIES

Really cool dies, you have a choice of framelit or circle shape flip, also comes with arrows, scrolls, and abbreviated words. So much creative possibilities - it's a must see Thinlits Card Dies link.
If you would like to place an order please contact me: kerianneh@gmail.com or 027 936 2603
Have you ever wanted a stamp but couldn’t find the perfect image? Maybe one of your customers has a special family logo or a sketch she’d like to have as a stamp. Well now she can! Undefined is Stampin’ Up!’s new stamp carving product line. You define the rubber stamp any way you want.
When you carve your very own stamp, you will have an entirely new and different creative experience. And when you’re finished, you will have created a one-of-a-kind stamp!
How exactly do you carve a stamp? Watch the video for a tutorial.
Intrigued? We know you want to get your hands on the kit and start carving your own masterpieces. Here are the item numbers you’ll need (we suggest adding a refill kit on your first order . . . trust us, you’re gonna want it).
Item # Description Price
133402 Undefined Stamp Carving Kit $34.95 AUD /$39.95 NZD
134808 Undefined Refill Kit $16.95 AUD/$19.95 NZD
124236 Clear-Mount Cling Foam* $18.95 AUD/$22.95 NZD
*Add a sheet of Clear-Mount Cling Foam to create your own clear-mount stamps. Mounting your stamps on the cling foam allows you to make stamps any size you want, not just what will fit on the blocks in the kit.

WHOLE LOT OF LOVE

Dates: Available 1 December –27 January or while supplies last.
The fine print: These are exclusive products that will not be available after the promotion. No limits on this promotion.
131850 Love You More Stamp Set (Wood) $45.95
131853 Love You More Stamp Set (Clear) $36.95
134611 Follow My Heart Stamp Set (Wood) $33.95
134614 Follow My Heart Stamp Set (Clear) $26.95
134617 Flowerfull Heart Stamp (Wood) $20.95
Item Description Price Includes
134610 Sweetheart Treat Bags $10.95, 12 heart sacks, 12 die-cut labels, 12 pre-cut pieces of Pool Party Baker’s Twine
132162 Monster Hugs Boy $11.95, 18 boy monsters, 18 googly eyes, 18 adhesive hearts
132163 Monster Hugs Girl $11.95,18 girl monsters, 18 googly eyes, 18 adhesive hearts
134609 Sweet Sayings Cards and Envelopes $11.95, 12 printed card bases, 12 envelopes (four Real Red, four Pool Party, four Crisp Cantaloupe).
If you would like to place an order please contact me: kerianneh@gmail.com or 027 936 2603

If you have further queries, please contact me; kerianneh@gmail.com or 027 936 2603

Big savings on fantastic products - Clearance Rack Blitz
If you would like to place an order, you need to get in quick on this one, please contact me; kerianneh@gmail.com or 027 936 2603
Tunnel Flip Card Tutorial


CARD
Bazzill French Vanilla, Gold Glitter Card, Patterned Paper ( Kaisercraft, Base Coat II - Paper Lace)
STAMP
Petite Pairs
INK
Versamark
ACCESSORIES and TOOLS
Cream Satin Ribbon with gold trim, Heat Gun, Gold Embossing Powder, Big Shot, Hearts Framelits, Card Trimmer, Bone Folder, Dimensionals, Double-sided Tape.

Start with 11" x 7 1/2" card (before cutting the card, make sure the grain is so that when you fold 7 1/2" in half, it folds easily).

Fold card in half - top to bottom.

Fold card in half again - left side to right side

Unfold the card.

Place card in trimmer long side across the top, valley fold to the left of the blade @ 5" along start blade at 2" down from the top CUT and stop 2" from the bottom.
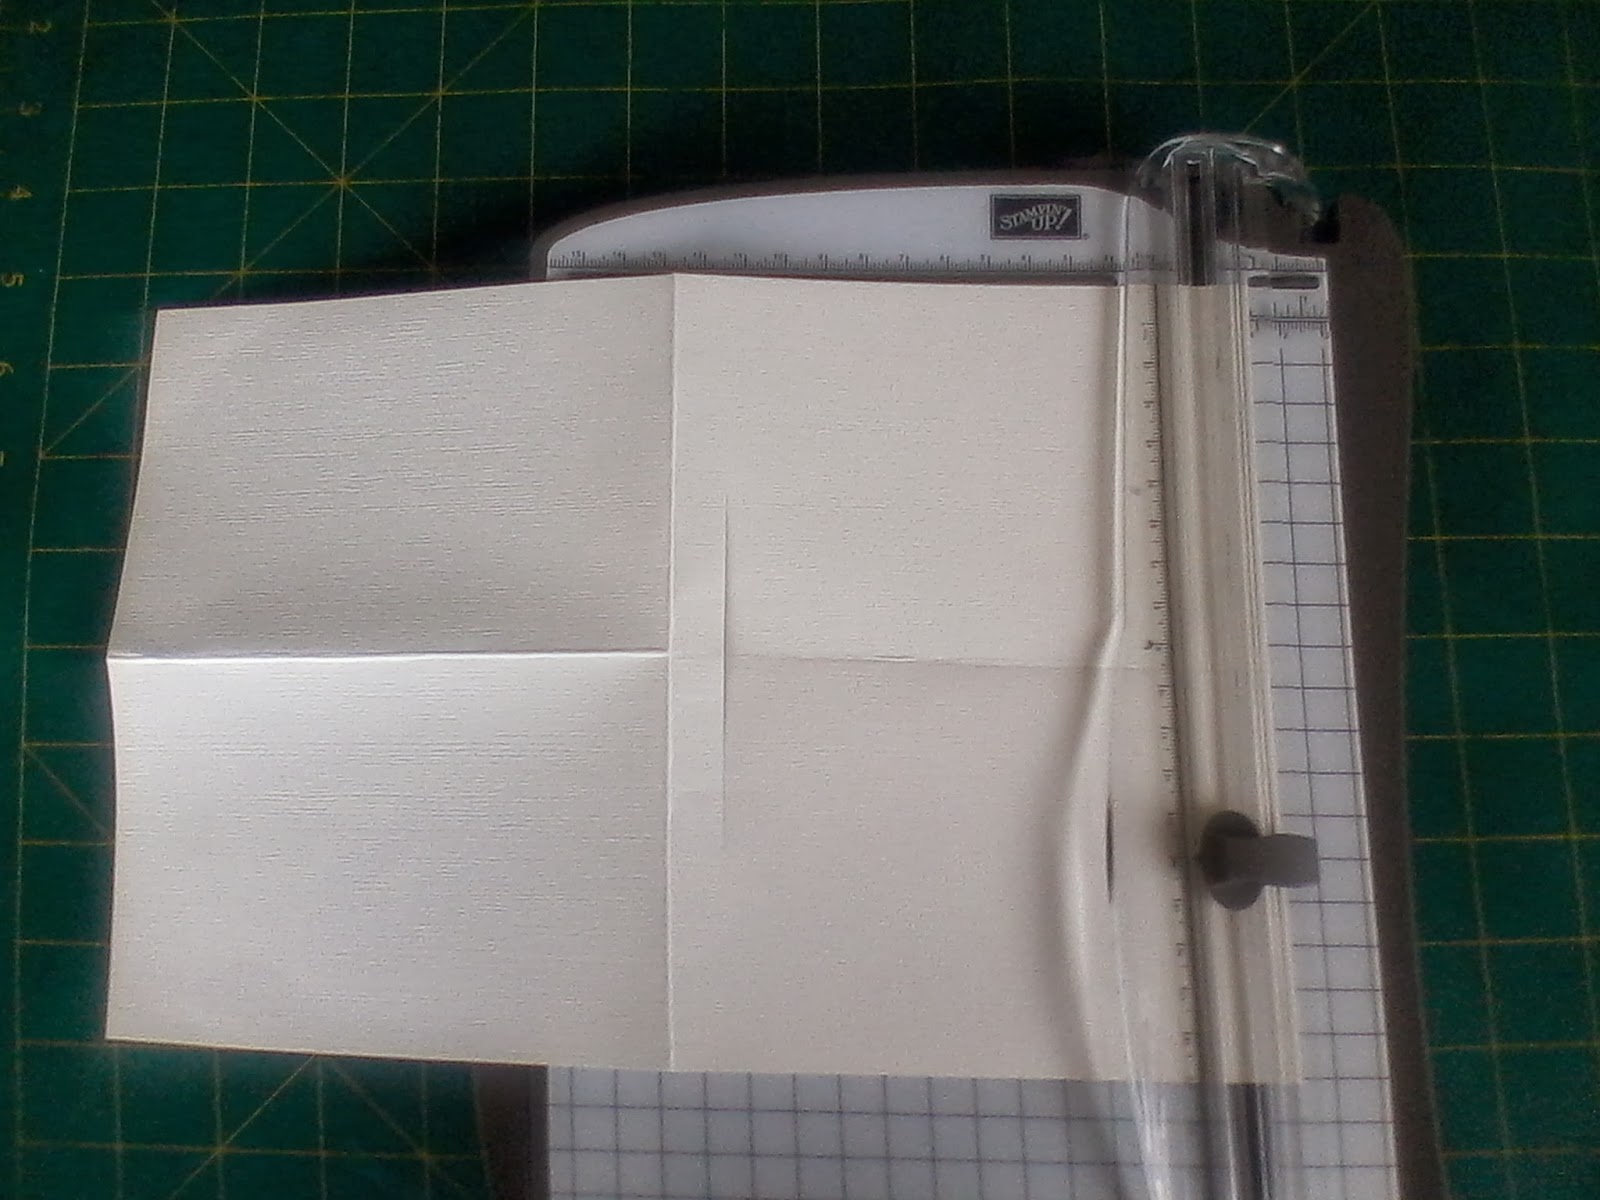
Turn the card in trimmer long side is across the top and only 1/2" is to the right of the blade, start blade at 2" down from the top CUT and stop 2" from the bottom.
You should now have two slots.

To score the card - turn card in trimmer short side across the top @ 5 1/2" to the left of the ruler, start at 1/2" down from the top (right on the end of the top slot) SCORE down to the end of the bottom slot.

Move the card along 2" to the left of the ruler, start at 1/2" down from the top (right on the end of the top slot) SCORE down to the end of the bottom slot.

Fold the card in half (top to bottom), the cut and scored half is the inside of the card. There should be three creases, middle is crease is mountain fold, the two creases either side are valley folds - this forms the 'tunnel'.


Mat the front with patterned paper 3 5/8" x 5 3/8"

Place the center of the heart die along the first score.

Then sandwich the card and die with the Big Shot plate flush to the score line and center of heart die - run it through the Big Shot.

Because of the placement of the plate, it will only cut half of the heart :)

Unfold the card.

Now we need to remove some of the layers of the half cut heart. Place the panel with the patterned mat to the top left of the blade - start with the blade to the top of the end of the heart cut down to the bottom end of the heart (along the score line).

You should have a cut - half heart window on the pattern mat panel.

Fold the card back so the tunnel is on the inside and the cream half heart is folded through the half heart window.

Adhere the large gold glitter heart flush to the card heart and tunnel. Dimensional the smaller heart to the center of the gold glitter heart. Thread the ribbon through the tunnel and wrap around the front of the card, tie a knot and trim the the ribbon ends.


Voile! Tunnel flip wedding card :)
....What's Coming?
The last Monday Class cards for the year, altered and affordable mini-album (when I say 'affordable', scrapbooker's know what I mean - it can end up being quite expensive, lol), hopefully some Christmas cards for my friends, another album or two and more....
Well that's me....Thanks for having a look :) I will leave with one of dad's songs, he was awesome at singing and playing this on the guitar Listen To The Music - Doobie Brothers.
Ka kite ano
BCHS :)


